Dry lining is a preferred way of putting up interior walls, due to its simplicity and ease of application. A large sheet of baseboard is cut according to one of the wall’s dimensions and glued on using adhesive. A filler is then placed in the joints between sheets.
DIY enthusiasts with varying levels of expertise can handle dry lining without difficulty, provided that they are ready with the right dry lining supplies. These should be purchased immediately when they are put up for sale by nearby stores or bought online if not available locally.
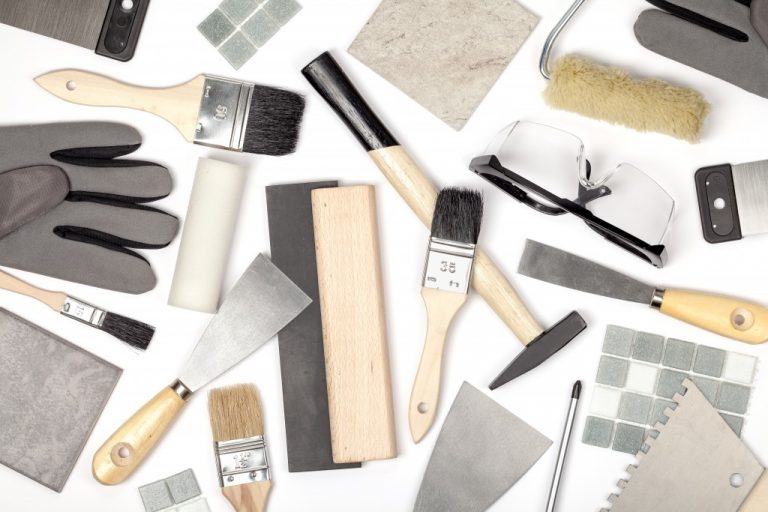
To help you get started, here are the tools that are essential for dry lining.
Utility Knife
A small knife is used to score the plasterboard’s paper part during the measurement of wall dimensions. This will serve as a guide during cutting and make it more accurate. An alternative is using a pencil, although it can be harder to see under bright lights.
When marking down measurements on a relatively small section, one can make two points across the board and connect these for a straighter line. However, if the sheet is too big, one can use a T-square to prevent your line from skewing as you mark along the sheet’s length.
Electric Screwdriver
This tool is needed if you intend to secure your sheet to a frame or surface. One can also use nails as an option, although some nails tend to get loosened during hammering and will weaken the wall’s foundation. Don’t forget to use the right screw length and thickness.
If the screw is too short, it cannot pierce through the plasterboard and into the surface. If it is too long, it will penetrate the two surfaces and jut out on the other side of the wall. Determine the appropriate length based on the thickness of the plasterboard and the wall.
Adhesive and Tape

If you are unable to screw on your plasterboard or intend to add insulating material, you should use adhesive for attaching their drywall. The method of applying is known as the “dot-and-dab” method, wherein the adhesive is dotted about the surface.
After putting up all the walls, a filler can then be applied in the gaps to keep the sheets together. It is recommended to use a layer of scrim or jointing tape afterward for stronger wall support and a cleaner finish. If you have more time, you can do plaster skimming for a smoother finish.
Scraper
A scraper is used in scraping off any cracked or damaged plaster to prepare your wall for dry lining and give it a smoother surface. It is also used to add or remove adhesive and even out applications of filler. Keep a separate scraper for each to avoid mixing the chemicals.
After applying the joint filler and taping the wall, use the scraper to flatten the tape while pressing into the crease of the joint. This makes the corner sharper and squeezes out the excess filler. Don’t press too hard on the tape to keep it from lifting and creating bubbles.
After preparing the adequate tools for dry lining, you can now begin your construction. Exercise patience in measuring, attaching, and adhering your plasterboards to have an accurate and satisfying room finish.
